Our home here on the Farmette was built in 1980. Not an "old farmhouse" by any means, but still an outdated 35+ year old home. The previous owner added on three rooms as well as several other... customizations. We knew renovations would need to be prioritized to fit the budget. A little paint and TLC went a long way to update our master bedroom and laundry room, but I knew that wasn't going to be enough to transform our sad brown and black kitchen.
We weren't quite ready to tackle a big project like renovating the kitchen (though we did replace the brown formica countertops with beautiful new quartz, added a subway tile backsplash, and upgraded to stainless appliances), we were still a ways away from the light + bright kitchen of my dreams.
It quickly became apparent that I was going to need a kitchen/office space. As a food blogger, it was important to me to have a kitchenette in my office. This enables me to do some of my recipes here and it also serves as the backdrop for my (future) cooking videos.
All told, my Farmette Kitchen Studio cost around $7500 to build and finish out ($5200 for the cabinette itself and a little over $2k to finish out the interior). A small price to pay for the ability to have an office outside of the home, a place to store all of my food props, and a backdrop photography studio.
After a few months of trying to find a solution, we finally decided to build a detached kitchen studio. James loved the idea of me not monopolizing the kitchen table trying to work. I loved the idea of having a dedicated space to leave all of my food props + photography equipment.
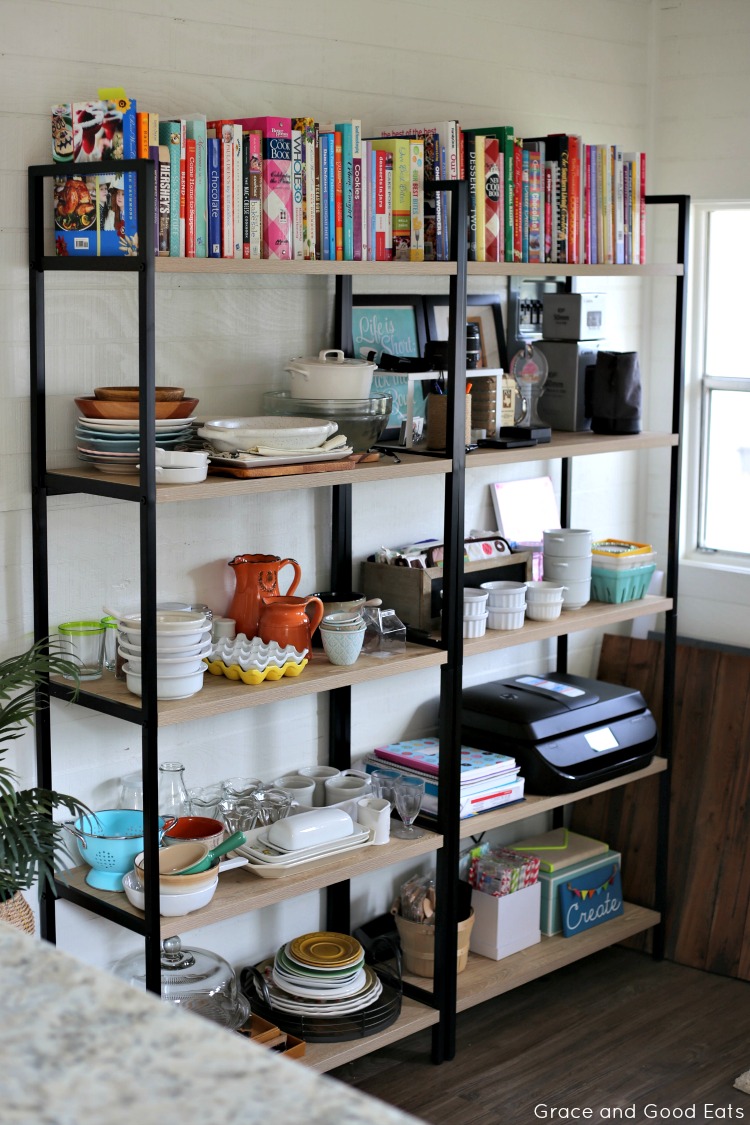
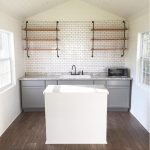
I purchased these two ladder bookcases from Target for $99ea to hold my food props and a few other office supplies. We used sheets of wall paneling from Home Depot, turned horizontally, to create a (super cheap, super easy) faux shiplap look. Using the pre-made panels helped my budget (and my husband’s sanity) tremendously.
The "tiny house" arrived completely unfinished on the inside and I'm incredibly lucky that James was able to do all of the labor for me. He ran all of my electricity, installed my a/c window unit and hot water heater, put in the sink, the cabinets, the faux shiplap, the tile backsplash, and the countertops, hung my shelves, laid the flooring… everything.
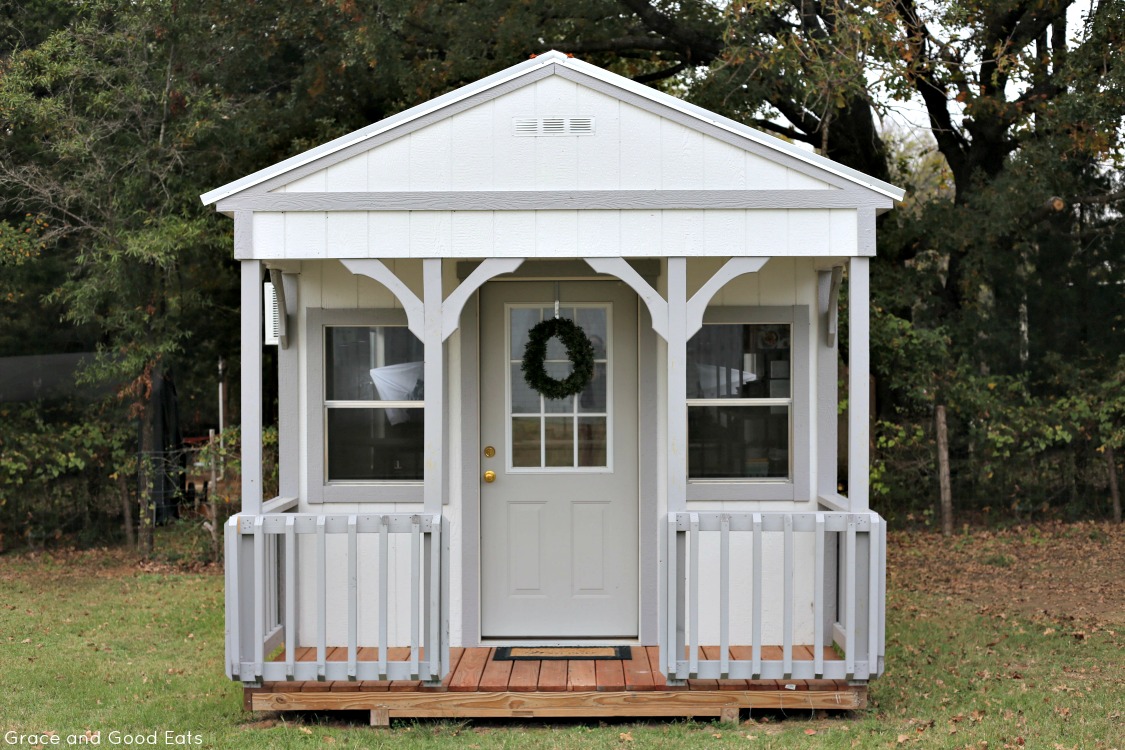
I was able to customize the paint colors, roofing, and window locations, as well as add a cutout for an air conditioning unit. It comes standard with the gable roof, 4ft covered porch, and two 3×4 windows. I chose to center the door and add two smaller windows on either side. I’m SO glad I did; it is so light and airy inside! The cabinette was delivered fully assembled and painted on the outside with an unfinished interior. Come on in, I’ll give you the tour!
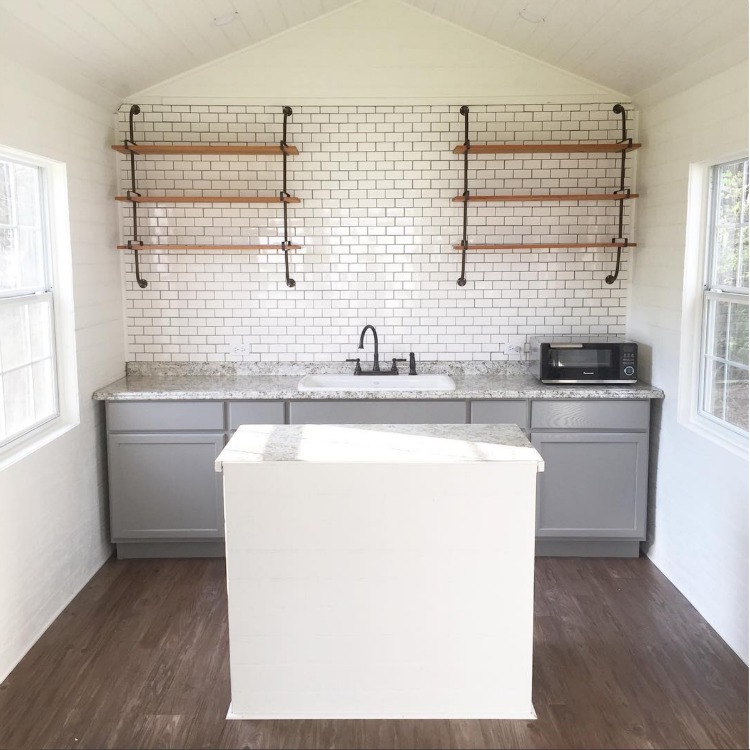
The countertops are “Typhoon Ice” laminate from Home Depot. There were only a few color options, and we had to go to two stores, but I have been very happy with them. (Not to mention they cost about 10x less than the quartz in my real kitchen.) We used one 10ft piece for the cabinets and a smaller laminate sheet to cover the top of the island.
The kitchen island was actually a built-in desk from one of the bedrooms in our home that the previous owner made and left behind. The chair cutout was the perfect spot for my mini fridge that I scored on clearance at Target for less than $50. We covered the back of the island with the same “faux shiplap” that we used for the walls. (The wall color is Alabaster and the cabinets are Tabby Cat Gray.)
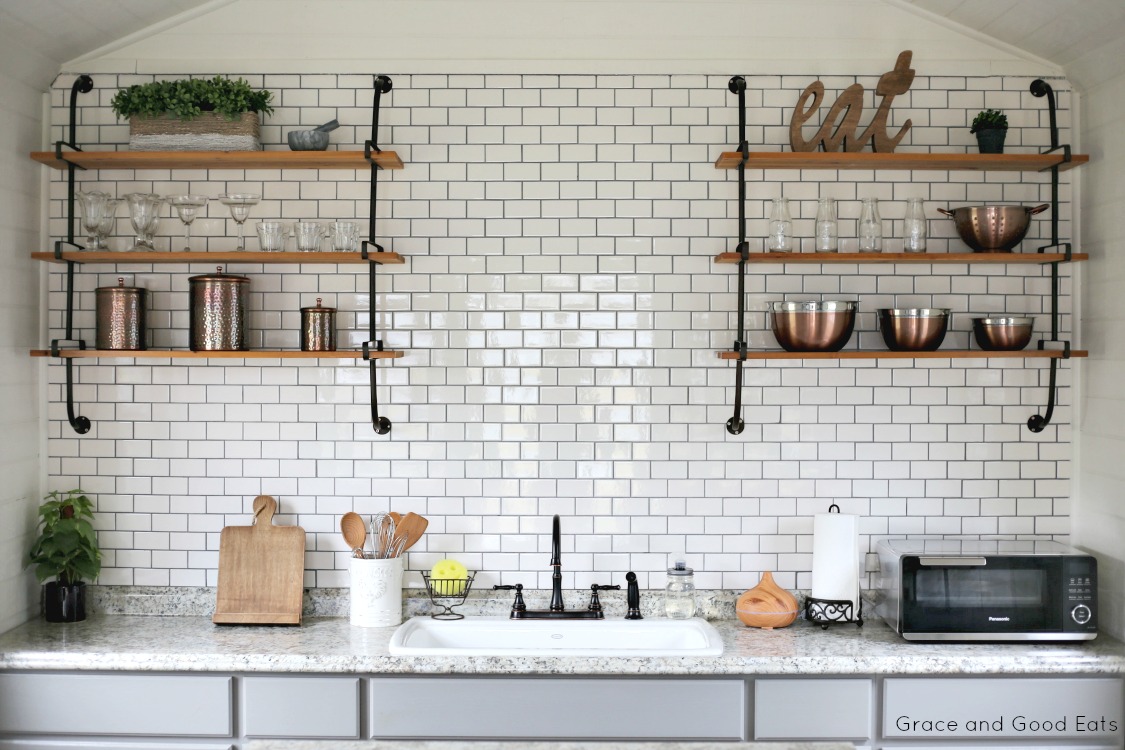
The pub-style table (which I use as a desk) was a clearance find for $150 at HomeGoods. In fact, most of the items on the back wall of shelves- the copper bowls and canisters, greenery, etc are all from HomeGoods or TJ Maxx. The shelves themselves (ha) are from Decor Steals.
I shared more specifics about the kitchenette space (subway tile backsplash, sink, faucet) in this post about my "She-Shed Farmhouse Kitchen."




Leave a Reply