Skip to primary navigation
Skip to main content
Skip to primary sidebar
Skip to footer
Cook
Breakfast
Main Dishes
Side Dishes
Desserts
Drinks
Homestead
Goats
Bees
Essential Oils
Homeschool
How To
Freeze
Pantry Staples
Pressure Cooker
Air Fryer
About
Web Stories
Search
menu icon
search icon
Search
Recipes
Gather
How To
Homestead
Homeschool
About
Email
Facebook
Instagram
Pinterest
YouTube
×
Home
»
Homestead
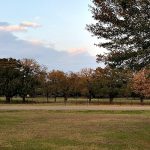
Homestead
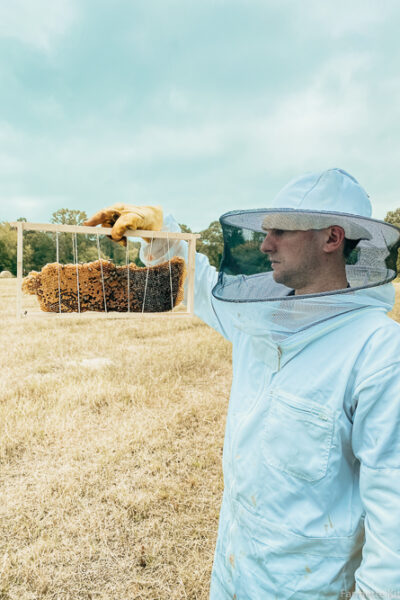
Bee Removal: Our First Hive
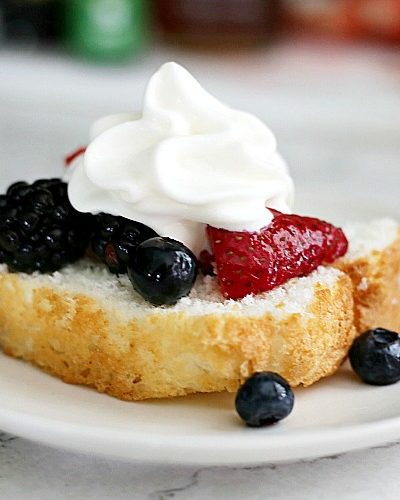
Fresh Fruit Salad
Essential Oil Insect Repellent
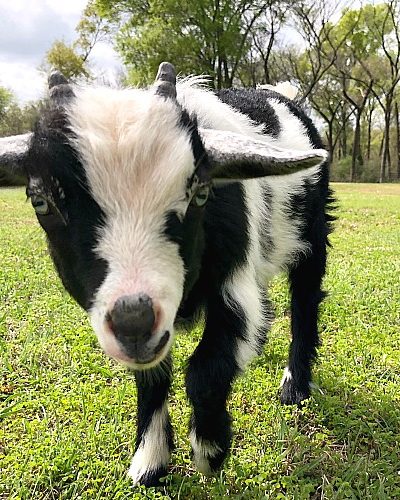
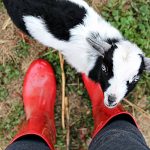
What Do Goats Eat?
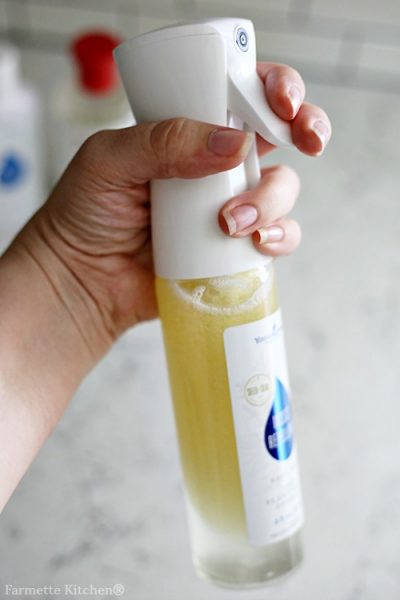
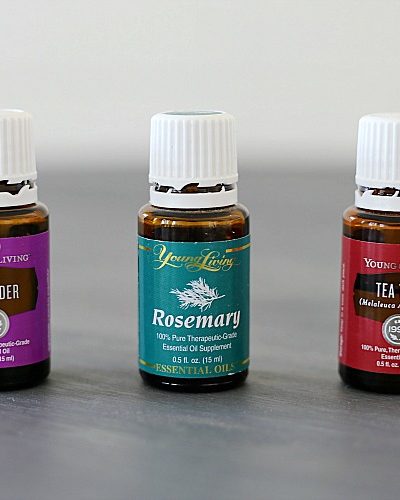
Essential Oils for Hair: Healthier-Looking Hair Spray
Page
1
Page
2
Go to
Next Page »